-
AeroGCS CONFIG User Manual
7. Install Firmware
The Install Firmware section includes options for Firmware Upgrades and Bootloader Updates, allowing you to upgrade the firmware and update the bootloader. The Install Firmware screen looks as shown in the following image:
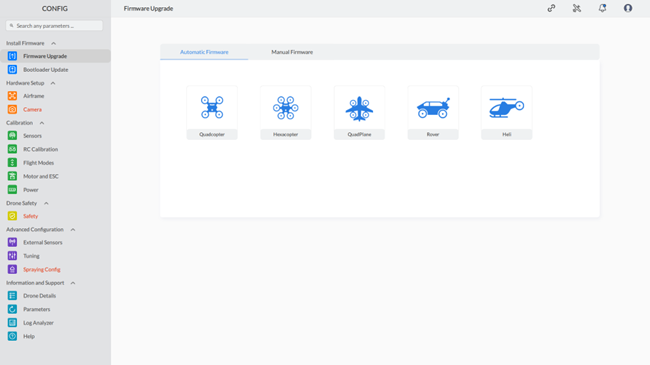
7.1 Firmware Upgrade :
| Note: Trial login users cannot access firmware upgrade features. |
Firmware Upgrade has two options:
7.1.1 Automatic Firmware Upgrade
If you select “Automatic Firmware Upgrade,” the screen appears as shown in the following image:

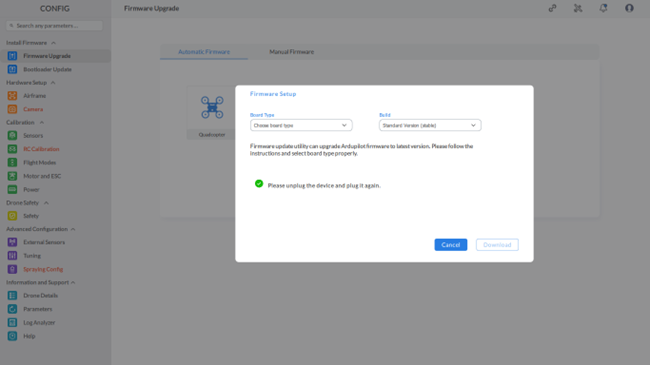
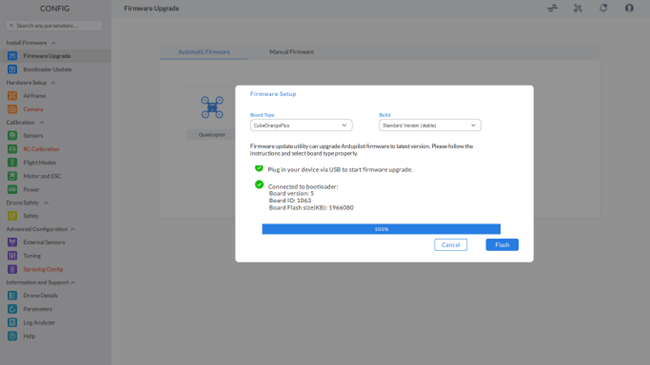
Step 3: Select the “Board Type” and “Build,” then click the “Download” button. This action will download firmware information, and your screen will appear as shown below:
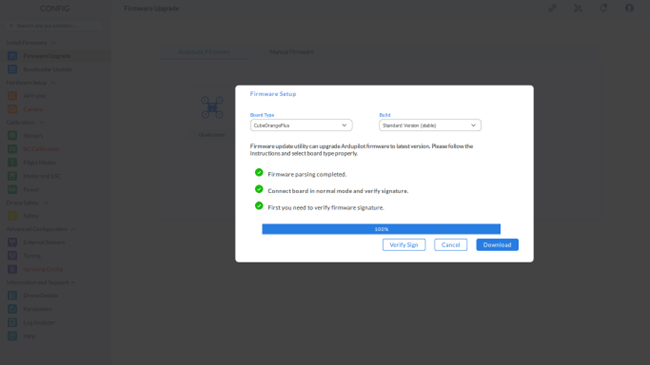
Step 4: Click on the “Download” button to initiate the firmware download. After the download is complete, you need to verify your signature, click on the “Verify Sign” button and your screen will appear as shown.
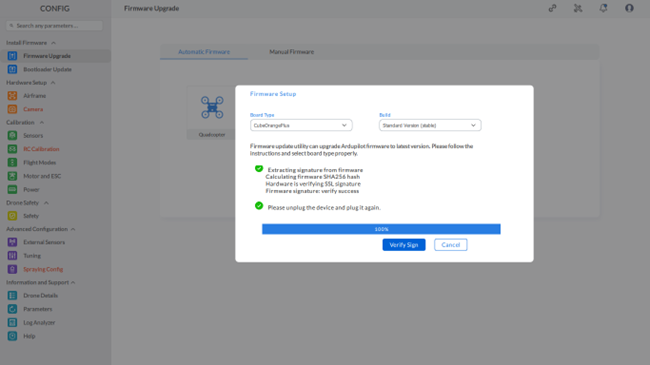
Click on “OK” to close it.
This completes the process of “Automatic Firmware Upgrade”.
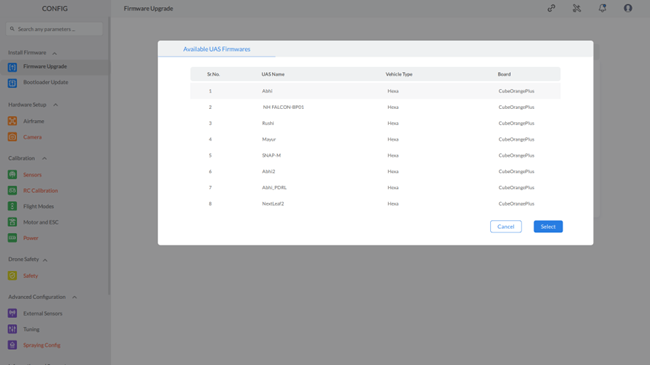
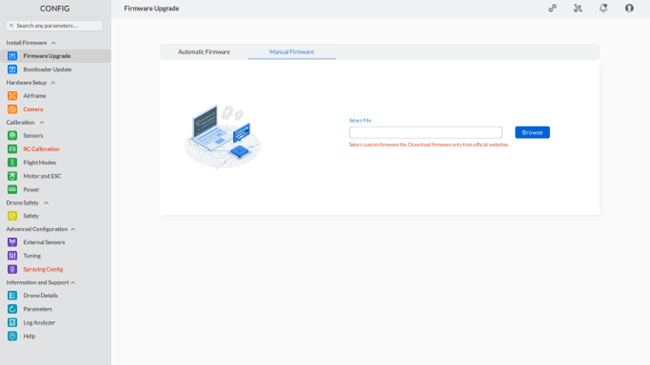
7.1.2 Manual Firmware Upgrade
If you select “Manual Firmware Upgrade,” the screen appears as shown in the following image:
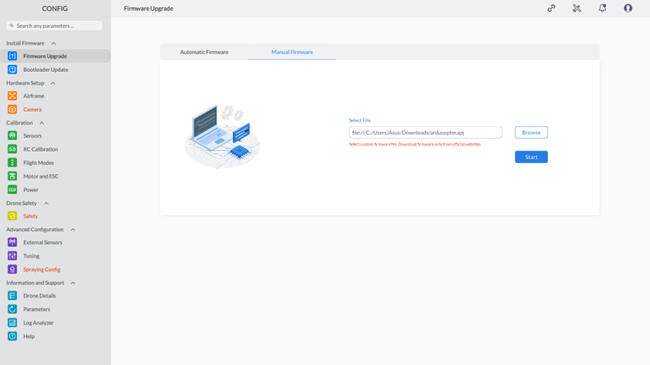

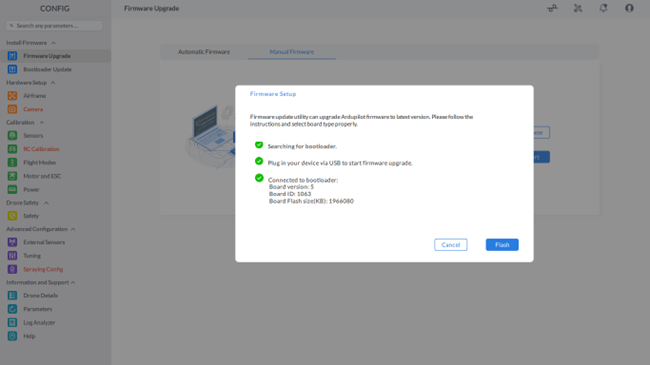
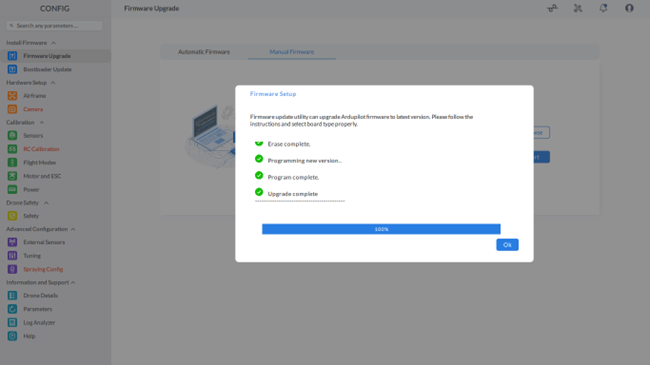
This completes the manual firmware upgrade process.
7.2 Bootloader Update
The Bootloader Update section has two parts: Bootloader Flasher and Bootloader Update.
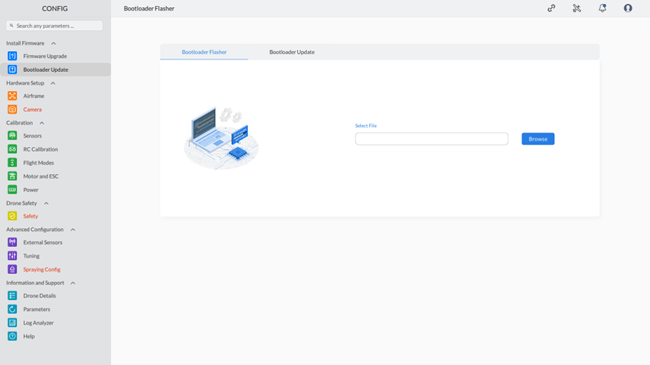
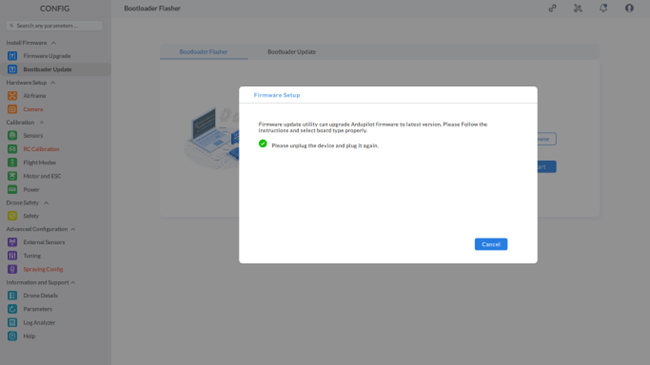
7.2.1 Bootloader Flasher
Flashing the bootloader is the first step in updating the bootloader. AeroGCS CONFIG allows you to update the bootloader using the Bootloader Flasher.Step 1: To access the “Bootloader Flasher,” click on “Bootloader Update” from the CONFIG section. The following screen will be displayed:
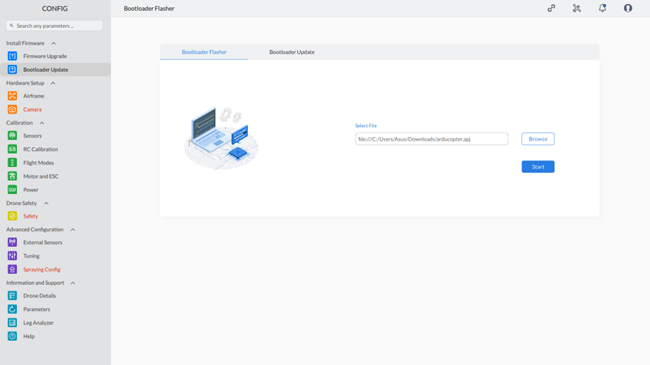
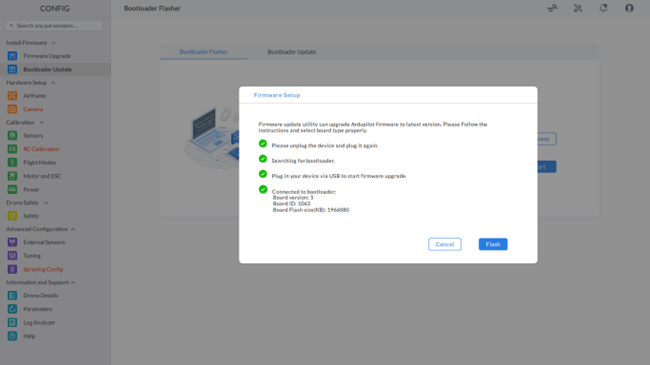
Step 4: Click on the “Flash” button to proceed with and complete the remaining bootloader flashing process, as shown below:
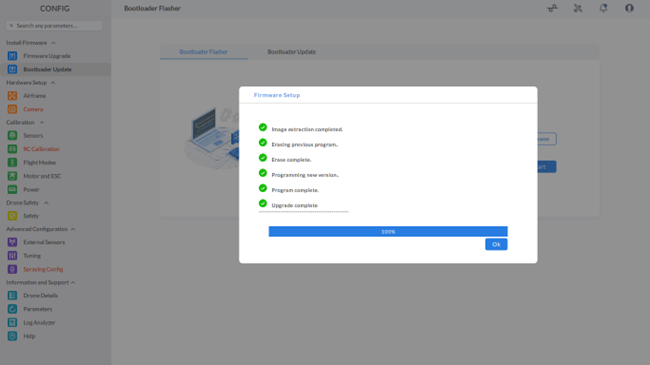
Step 5: Click on the “OK” button to close.
This completes the bootloader flasher process.
7.2.2 Bootloader Update
Step 1: To access the “Bootloader Update,” click on “Bootloader Update” from the CONFIG section. The following screen will be displayed:

Note: The OEM ID is automatically retrieved from the OEM server associated with the specific account, eliminating the need for manual entry of the OEM ID. |
Step 2: Here OEM ID is fetched from the OEM server. Click on the “Update” button. This will start the update process, and after completion, the following screen will be displayed:
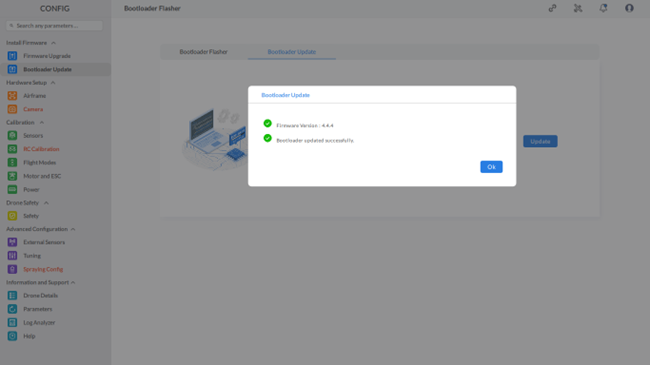
Step 5: Click on the “OK” button to close.
This completes the bootloader update process.
Note: In the Install Firmware section, follow this sequence:
|