-
AeroGCS DEFENCE
2. Getting Started
2.1 System Requirements
2.1.1 Hardware Requirements
Component | Minimum Specification | Recommended Specification |
CPU | x64-based Intel i3 @ 2.4 GHz | x64-based Intel i5 @ 1.9 GHz |
RAM | 4 GB | 8 GB |
Storage | 20 GB free disk space | 30 GB free disk space |
Graphics | Integrated GPU | Intel/NVIDIA with 1 GB VRAM |
Ports | USB 2.0 | USB 2.0 or higher |
2.1.2 Operating System and Display
| Operating System | Windows 7, 8/8.1, 10, or 11 | Windows 11 |
| Network | LAN or Wi-Fi (for map downloads) | LAN or Wi-Fi |
| Screen Resolution | 1366×768 or higher | 1366×768 (Landscape orientation) |
| Note: AeroGCS DEFENCE is designed to function entirely offline. However, an internet connection may be required temporarily during activation or to download base maps. |
2.2 Downloading AeroGCS DEFENCE
AeroGCS DEFENCE is distributed as a Windows installer (.exe file). To obtain the software:
- Navigate to the official download portal or the location provided by your software administrator.
- Locate the installer labelled exe.
- Save the file to a known directory such as Downloads or Desktop.
File Size: Ensure you have sufficient disk space (installer size varies by version).
File Name: Always verify the filename and version before installing.
2.3 Installing AeroGCS DEFENCE
2.3.1 Launching the Installer
- Navigate to the folder where exe is saved.
- Right-click on the file and select Run as Administrator to ensure proper installation privileges.
2.3.2 Installation Wizard Steps
- The installation wizard will open with the AeroGCS DEFENCE branding.
- Follow the on-screen prompts:
- Accept license agreement.
- Choose installation directory (default path recommended).
- Select whether to create desktop/start menu shortcuts.
- Click Install to begin.
2.3.3 Additional Frameworks and Drivers
During installation, the setup may prompt you to install required dependencies such as:
- Microsoft .NET Framework (if not already installed)
- Visual C++ Redistributable
- Device-specific telemetry drivers (if applicable)
Important: Allow these dependencies to install when prompted. Skipping may lead to functionality issues.
2.3.4 Completion and Launch
Once installation completes:
- Click Finish to exit the installer.
- Launch AeroGCS DEFENCE via desktop shortcut or Start Menu.
2.4 First-Time Login
2.4.1 Default Login Credentials
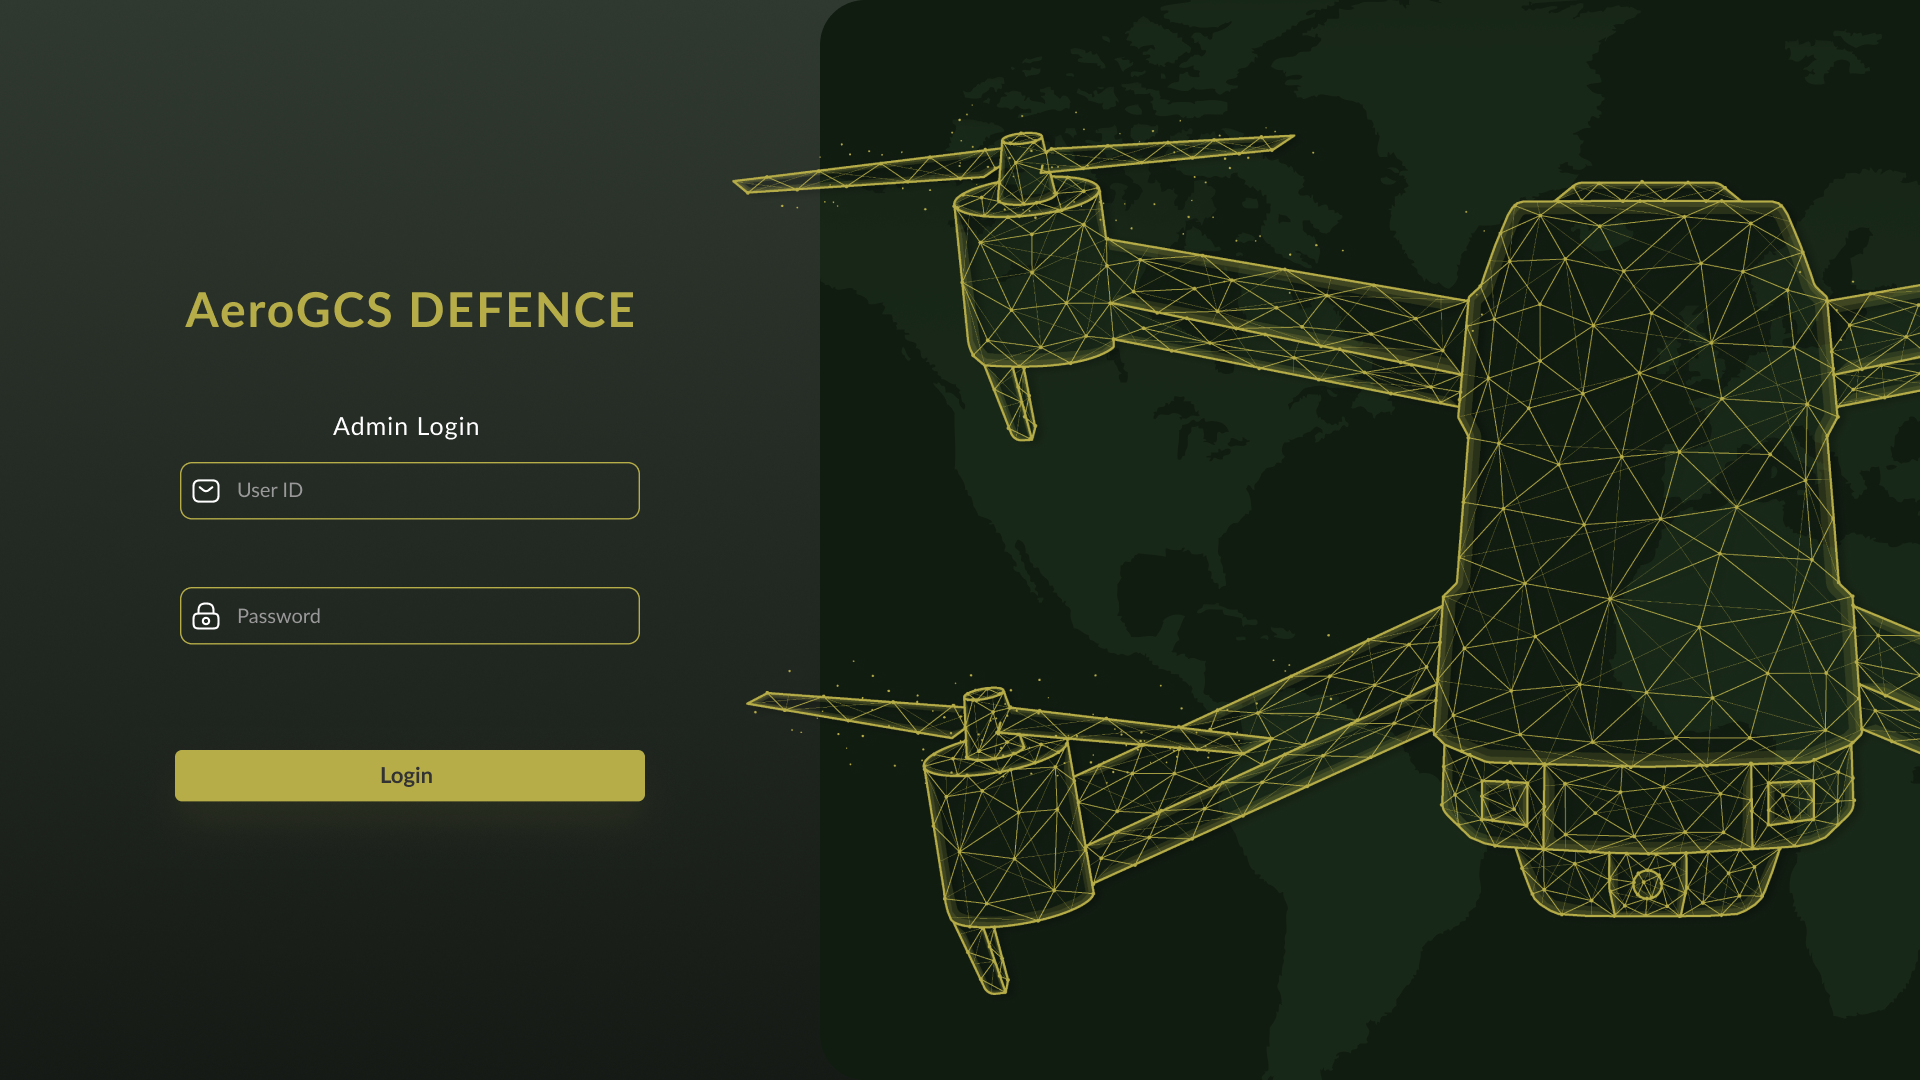
| Field | Value |
| Username | admin |
| Password | admin |
| Note: Both the username and password are case-sensitive. Enter them exactly as shown. |
Click the Login button to proceed.
Security Note: Only ADMIN user has access to the User Management feature. To update credentials: 1. Navigate to Settings → User Management. |
2.4.2 Post-Login Flow
Upon logging in with the default credentials:
- You are redirected to the main dashboard (Home screen).
- A prompt or notification may appear recommending that you create a secure user account for operational access control.

Important:
- The Admin account is the superuser and has unrestricted access to all settings, flight logs, and drone configurations.
- It is highly recommended to create individual user accounts for auditability and operational security.
2.4.3 Creating a New User (Recommended)
After logging in with the default administrator credentials for the first time, it is highly recommended to create a dedicated user account. This enhances operational control, improves security, and ensures system access accountability.
Default Login Credentials
- Username: admin
- Password: admin
- Post-login, the Home screen will appear.
Steps to Add a New User
- Access the Three-Dot Menu
- On the Home screen, locate and click the three-dot menu in the top-right corner.
- On the Home screen, locate and click the three-dot menu in the top-right corner.
- Go to User Management
- From the dropdown options, click User Management.
- This opens the user account administration panel.
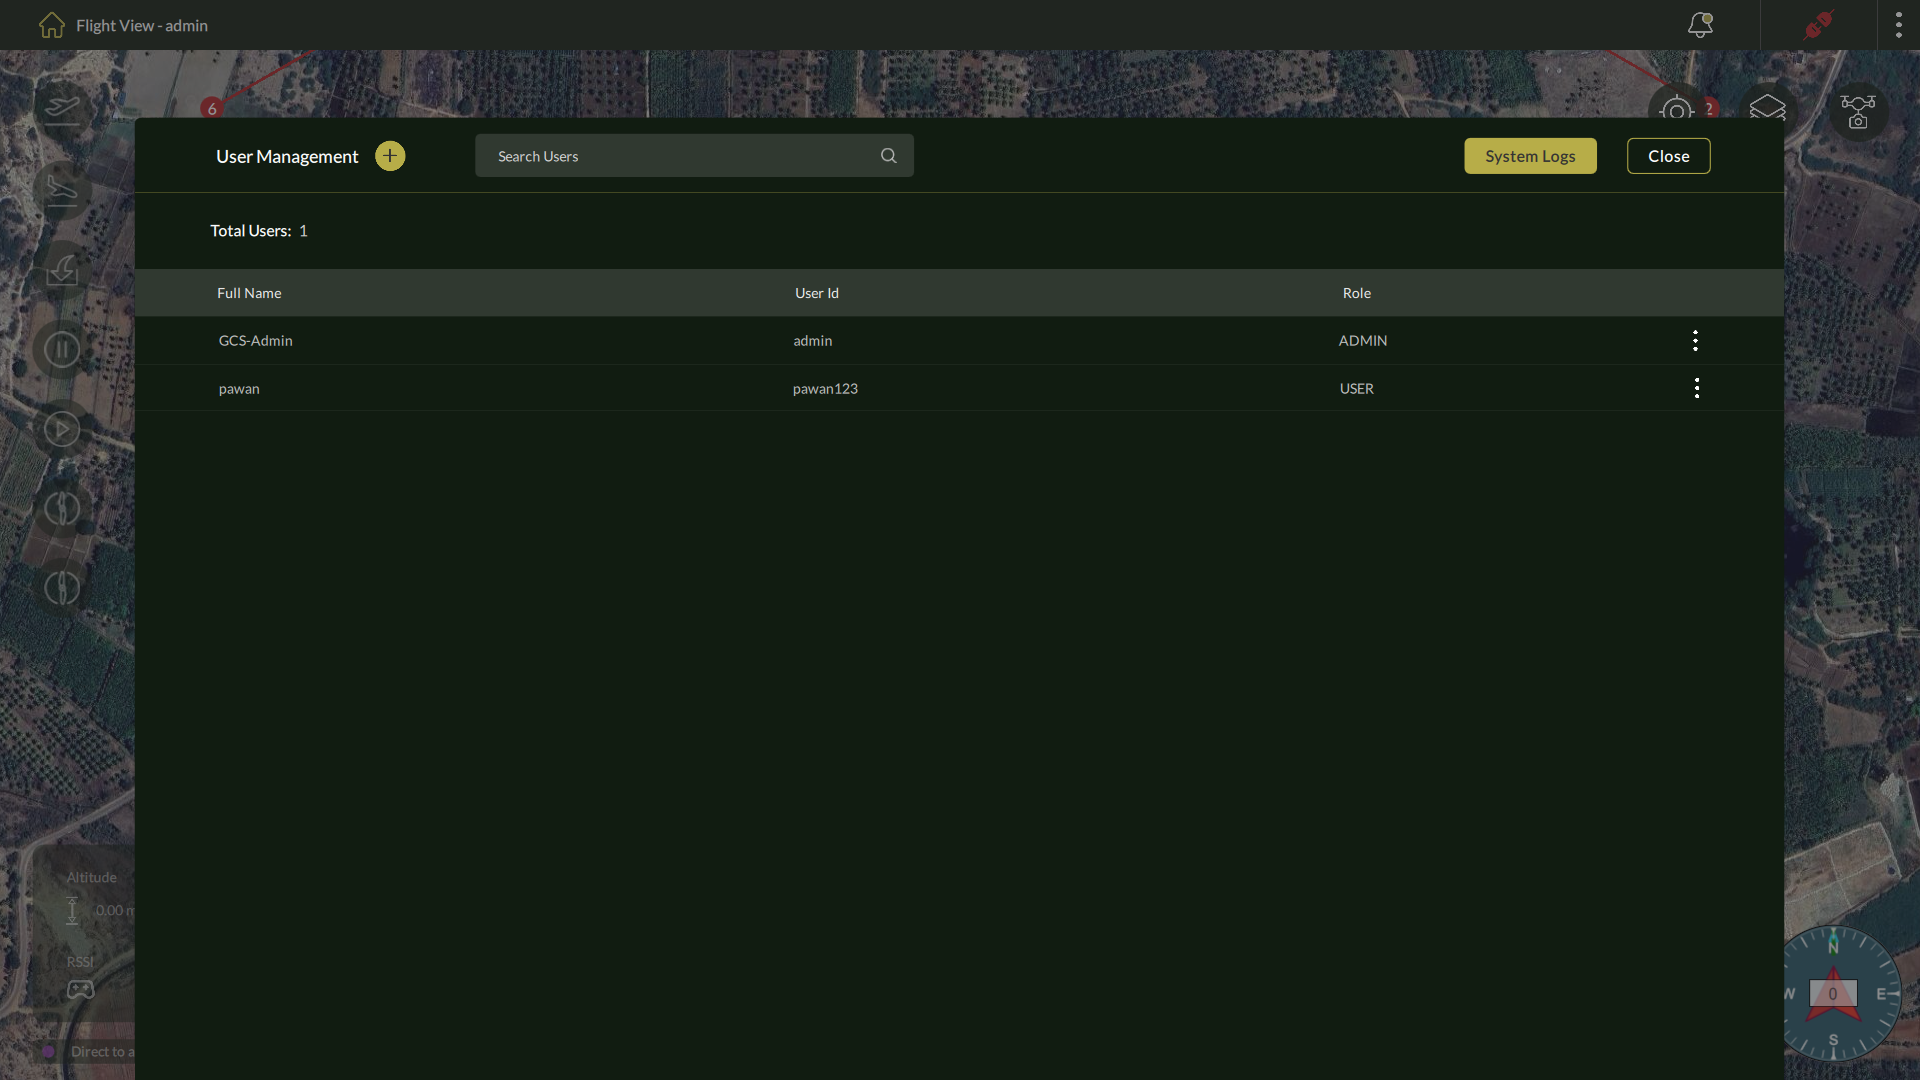
3. Click Add User
- On the User Management screen, click the Add User
- A new user input dialog will open.
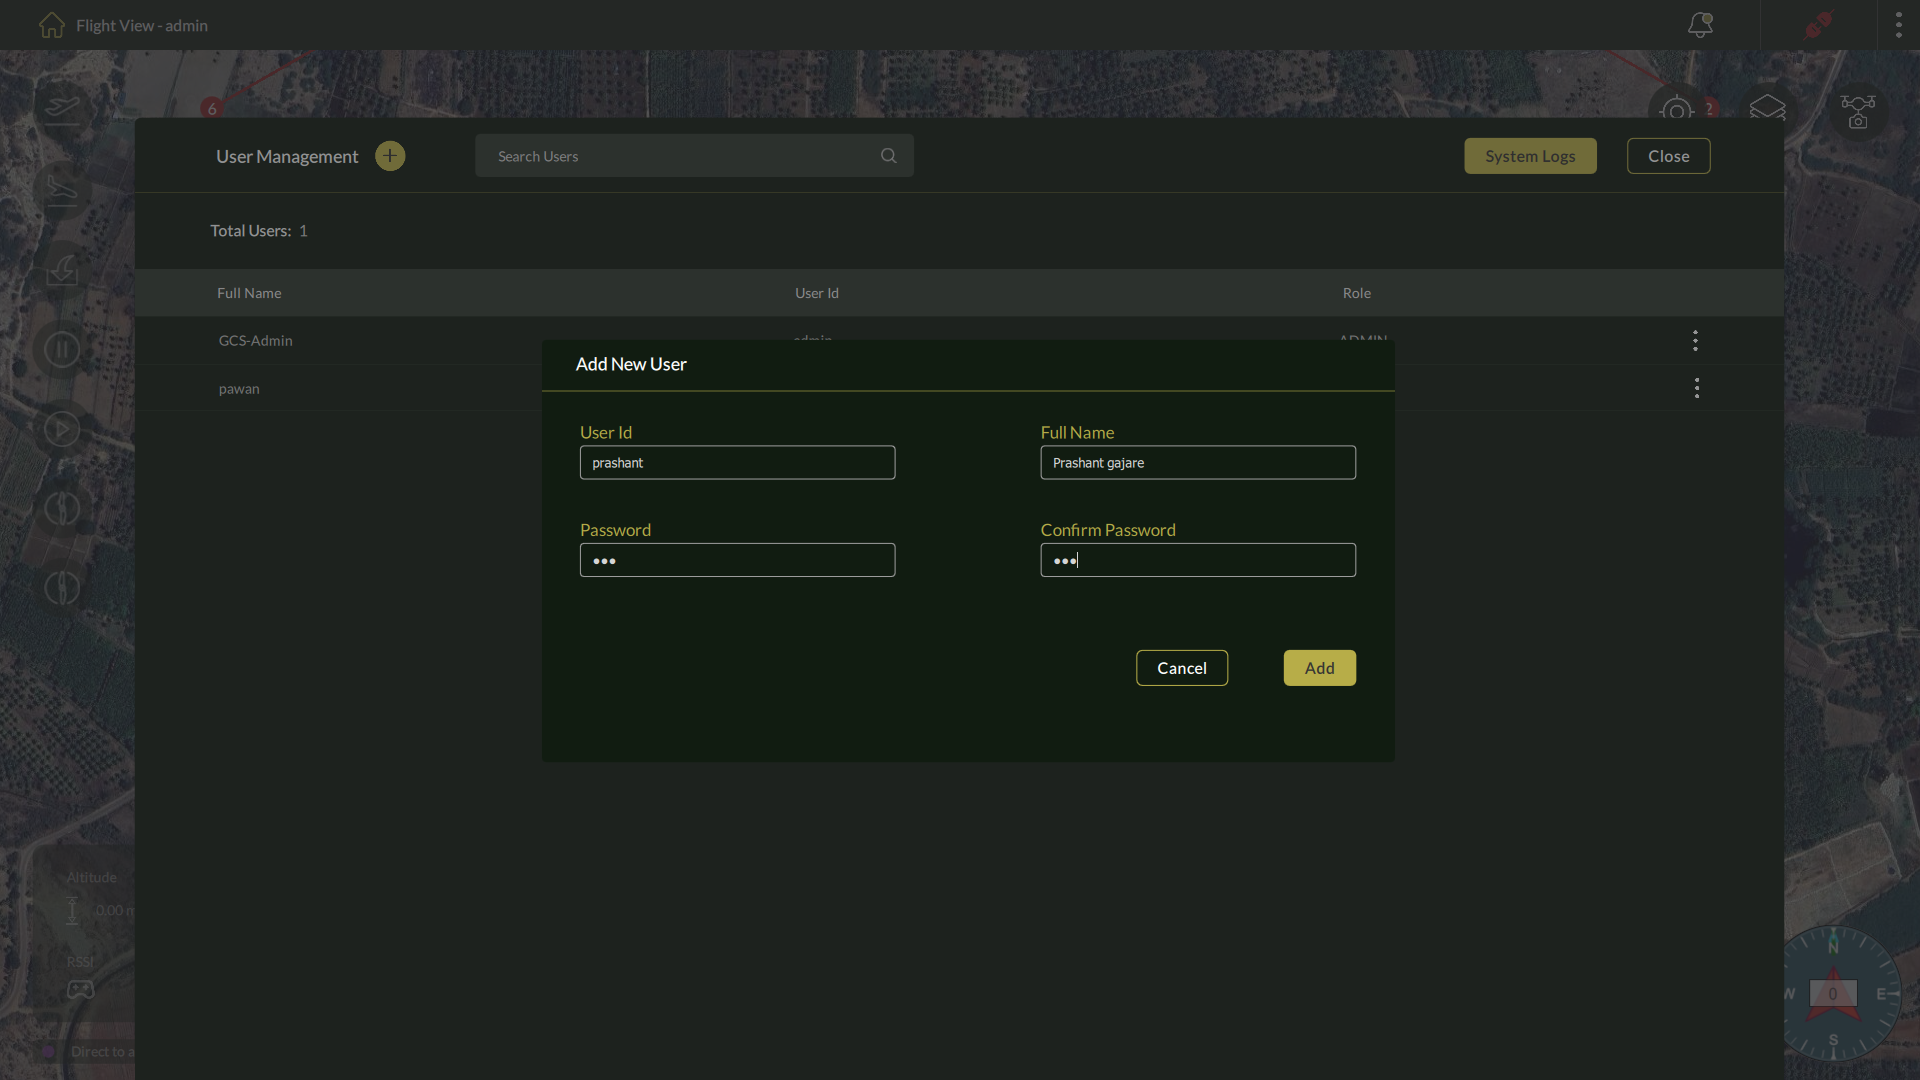
4. Enter Required User Details
- Fill out the following fields:
| Field | Description | Required |
| Full Name | Enter the user’s full name | ✔️ |
| Username | Define a unique username | ✔️ |
| Password | Create a secure password | ✔️ |
| Confirm Password | Re-enter the password for confirmation | ✔️ |
5. Save the User
- After completing the form, click Save to create the user.
- A confirmation message will appear indicating success.
6. User Ready for Login
- The new user will now be listed under the User Management
- They can log in using their credentials from the main login screen.
| “Before proceeding with operations, confirm that maps load correctly, the dashboard is responsive, and at least one operational user has been created.” |
Notes:
- Role-based permissions are not configurable. All users created have standard access unless limited via software updates or OEM-specific versions.
- The default “Admin” account should be retained for system-level configurations.
- Password strength recommendations should be followed for secure account management.