-
AeroGCS Enterprise User Manual
3. Getting Started
Register, Log In, and Access AeroGCS Enterprise with Ease
Before you begin managing drone operations on AeroGCS Enterprise, you need to:
- Create an account by completing the sign-up process.
- Activate a valid subscription plan to unlock full platform functionality.
Once your account is registered and verified, you’ll be ready to plan, execute, and monitor missions from anywhere via this intuitive web application.
3.1 Sign Up with AeroGCS Enterprise
AeroGCS Enterprise offers three ways to create your account:
- Using an Email Address
- Using your Google Account
- Using your Microsoft Account
You can access the registration page directly at:
https://enterprise.aerogcs.com
Sign Up Using Email Address
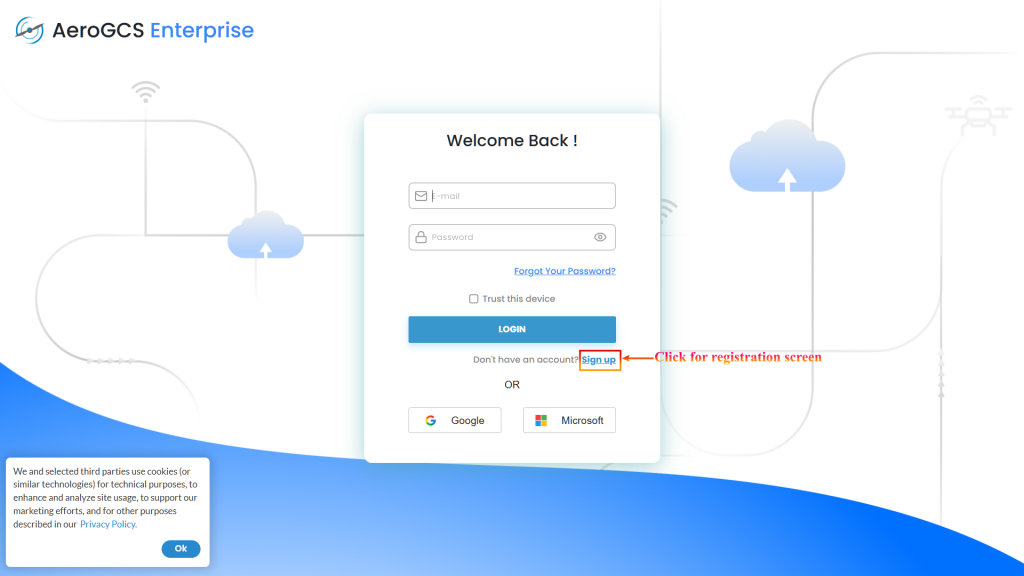
- Open your web browser and go to the AeroGCS Enterprise homepage.
2. On the welcome screen, click the Sign Up button.
3. Fill in the registration form:
- First Name and Last Name
- Valid Email Address
- Password (must meet security requirements)
- Confirm Password
- Agree to terms and conditions by selecting the checkbox.
4. Click Sign Up to submit the form. You will see following screen of Registering.
5. Verify your email by clicking the link in the verification message sent to your inbox.
Sign Up Using Google or Microsoft Account
- Visit https://enterprise.aerogcs.com.
- Click either:
– Google button – for signing up with your Google account.
– Microsoft button – for signing up with your Microsoft account. - Enter your credentials in the respective authentication popup.
- Approve requested permissions.
- Open the verification email and click the activation link to complete registration.
3.2 Login to AeroGCS Enterprise
Once registered and verified, you can log in to the platform in three ways:
- Using your email and password
- Via your Google Account
- Via your Microsoft Account
Login Using Email & Password
- Visit the login page.
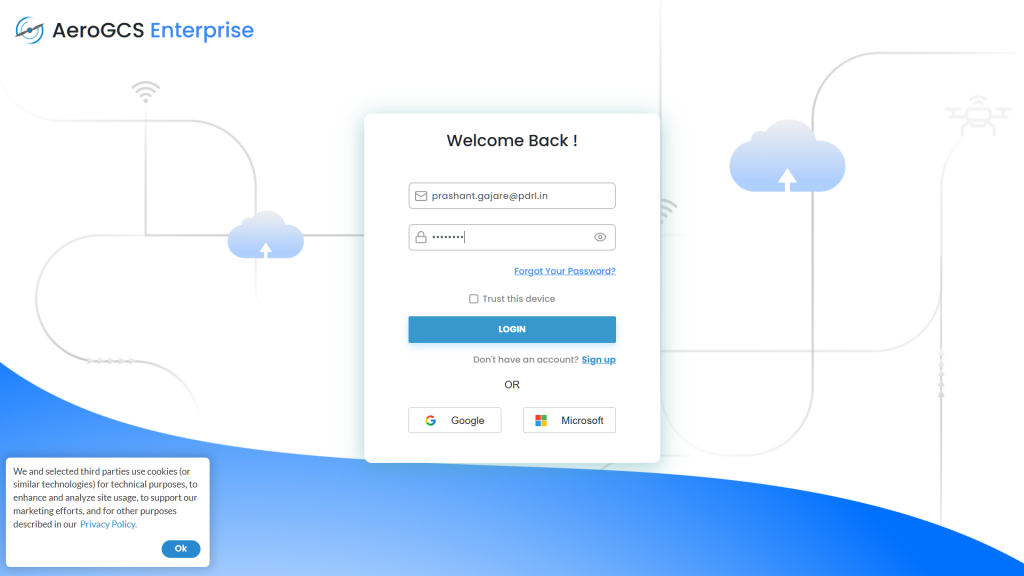
2. Enter your Email and Password.
3. (Optional) Select Trust this device to stay signed in.
4. Click the Login button.
5. If the credentials are valid, you’ll be redirected to the Dashboard.
Update Billing contact details click on “Update Now” and update the Billing Contact Details. You can skip it by clicking on the “Skip” button.
You will see AeroGCS Enterprise Dashboard. (On First Login You may see empty dashboard. With one manual project.)
Login with Google or Microsoft
- On the login page, click the Google or Microsoft button.
- Log in using your respective account.
- Approve permissions if prompted.
- Once authenticated, you’ll be logged in automatically
3.3 Forgot Your Password?
If you forget your login password, AeroGCS Enterprise offers a secure recovery process.
Resetting Your Password
- On the login screen, click Forgot Your Password?
- Enter your registered email address.
- Click Reset Password
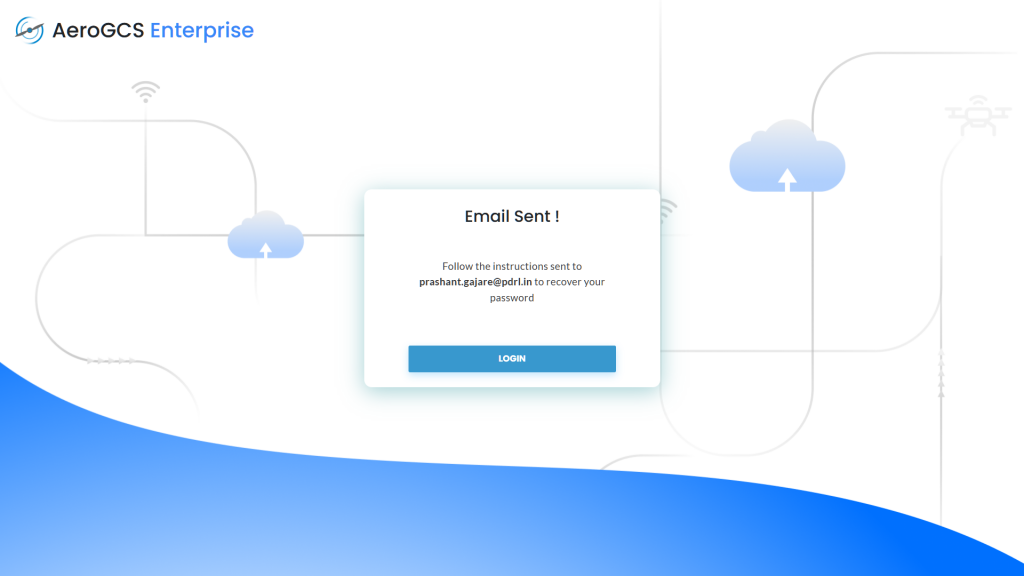
4. Check your inbox for a password reset email from AeroGCS Enterprise.
5. Click on the link “Click Here” from the mail. This will send new password to register mail.
6. Use the provided new temporary password to log in.
💡 Note: Reset links may expire. If expired, repeat the reset process.
Change Your Password (After Login)
- Go to your Profile Settings.
- Select Security and click edit button.
- This will show change password screen.
- Enter:
– Your current password (from reset email)
– Your new password
– Confirm new password - Click Submit to apply the change.
💡 Tip: Use a strong password with uppercase, lowercase, numbers, and symbols for better security.
Summary
Action | Method |
Sign Up | Email / Google / Microsoft |
Login | Email & Password / Google / Microsoft |
Password Reset | Email verification + profile update |
With your account successfully created and access established, you are now ready to explore the AeroGCS Enterprise platform. The next chapter will guide you through the Dashboard Overview and key components of the user interface.


